
Living in a tiny house means every square foot has to work twice as hard. The good news is that small spaces respond fast to smart storage: one weekend of changes can make a 300-square-foot home feel twice as big. These twenty hacks focus on real, practical fixes that use the space you already have, from the void under your bed to the forgotten inches near the ceiling.
1. Claim the Space Under Your Bed
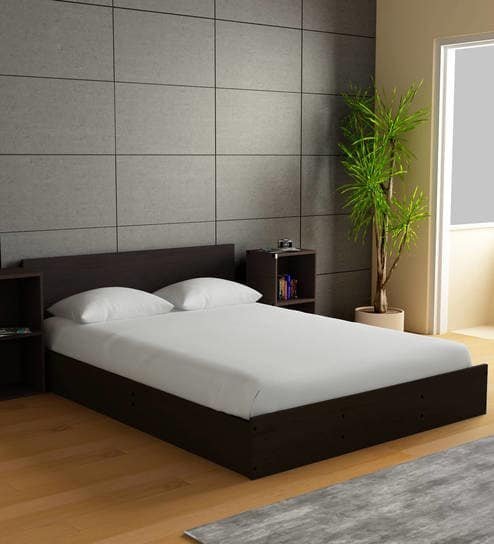
Your bed eats up more floor space than anything else you own, so it should pay rent in storage. The area underneath a standard bed frame holds roughly 25 to 35 cubic feet, which is about the same as a full-size wardrobe, and most people fill it with dust bunnies and one lost sock. Rolling drawers or low-profile bins turn that dead zone into your most useful closet.
Measure the clearance first, because bed frames vary wildly. If you have at least 7 inches, shallow rolling bins slide in easily. If you have 12 inches or more, you can fit proper drawers on casters or even a purpose-built storage bed with a lift-up mattress platform. Sort by season: winter blankets and off-season clothes live under there in summer, and they swap out in fall. Use bins with lids in humid climates so nothing gets musty, and label the ends that face out so you are not dragging every bin out to find one sweater. One warning: avoid stuffing the space with things you never use. If you have not touched it in a year, it does not deserve prime real estate under your bed.
2. Park a Storage Bench at the Foot of the Bed
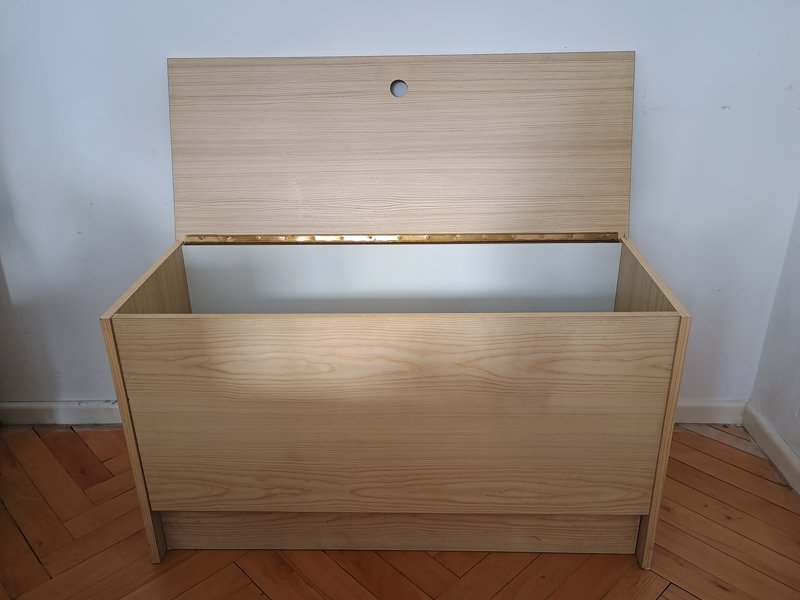
There is usually a strip of dead floor at the foot of the bed, about two feet deep, that collects laundry piles and nothing else. A storage bench slots right into that strip and gives you a lidded compartment big enough for spare bedding, plus a place to sit while you put on shoes. Pick one with a hinged top rather than a lift-off lid, because a hinged lid can be opened with one hand while you are holding an armful of laundry.
Upholstered benches double as extra seating when guests come over, which matters in a tiny house where the sofa might also be the guest bed. Look for a bench with interior dividers or add your own with small boxes, so the inside does not become one deep pit where things vanish. If you are handy, this is a satisfying weekend build, and these DIY tiny living furniture ideas include bench projects sized for small bedrooms. Keep the bench no wider than the bed itself, or it will stick out and bruise your shins in the dark. Ask me how I know.
3. Loft the Bed and Take Back the Floor
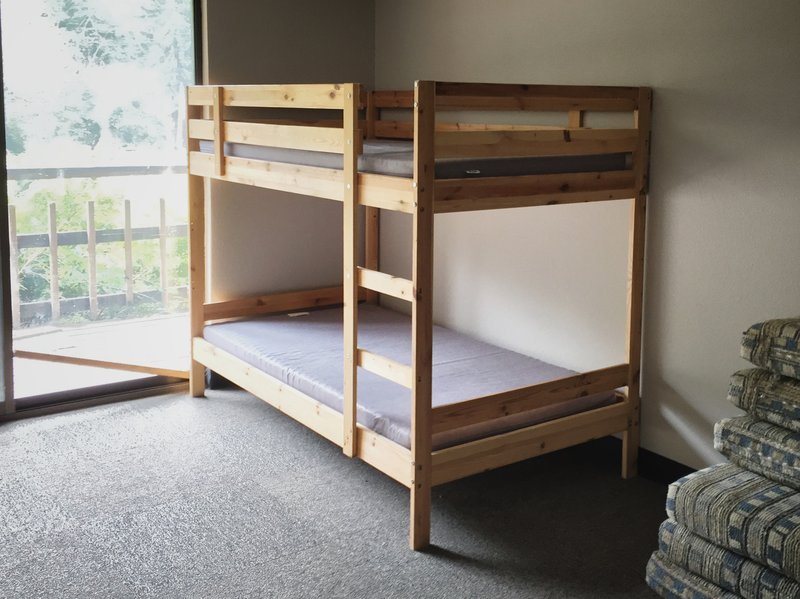
When the ceiling is tall enough, the single smartest move is to sleep up high and live down low. A lofted bed frees the entire footprint of the bed, which in a tiny house can be a quarter of the whole floor plan. Underneath you can fit a desk, a reading nook, a dresser, or even a compact sofa, and suddenly the room does two jobs at once.
This works best with ceilings of at least 8 feet, leaving roughly 4 feet of sitting clearance under the platform and enough headroom above the mattress that you are not bonking your forehead every morning. Build the platform from solid lumber, not flimsy big-box kits, and anchor it to wall studs if the design allows. Add a proper railing on the open side; falling out of a loft bed at 2 a.m. is a lesson nobody needs twice. A word of caution for older tiny houses and DIY lofts: check that the floor and walls can actually carry the load, especially if two people will sleep up there. When in doubt, keep the bed on the ground and use the under-bed storage from hack number one instead.
4. Turn a Blank Wall Into a Pegboard Command Center
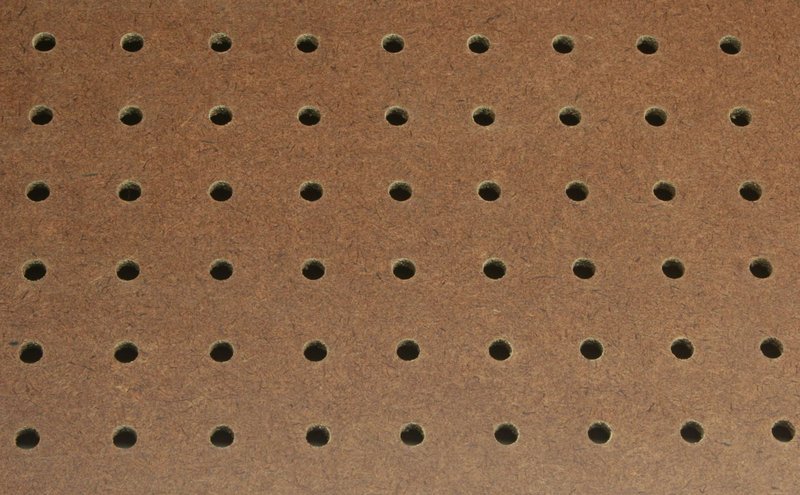
A plain wall in a tiny house is just storage that has not happened yet. A sheet of pegboard, a frame of 1×2 battens, and a handful of hooks give you a fully rearrangeable storage wall for tools, kitchen gear, craft supplies, or office bits. The beauty is that nothing is permanent: when your needs change, you just move the hooks instead of drilling new holes.
Mount the pegboard on battens so there is a gap behind it for the hook prongs, and use two screws per batten into wall studs. In a kitchen, hang measuring cups, small pans, and utensils where you can grab them. In a workspace, it holds scissors, tape, chargers, and headphones. Paint it the same color as the wall and it reads as intentional decor rather than workshop clutter, or paint it a bold accent color and make it a feature. Standard 1/4-inch pegboard with 1-inch hole spacing fits the widest range of affordable hooks. Skip the flimsy hardboard panels from discount stores; they sag under real weight. Real plywood pegboard costs a little more and lasts years longer.
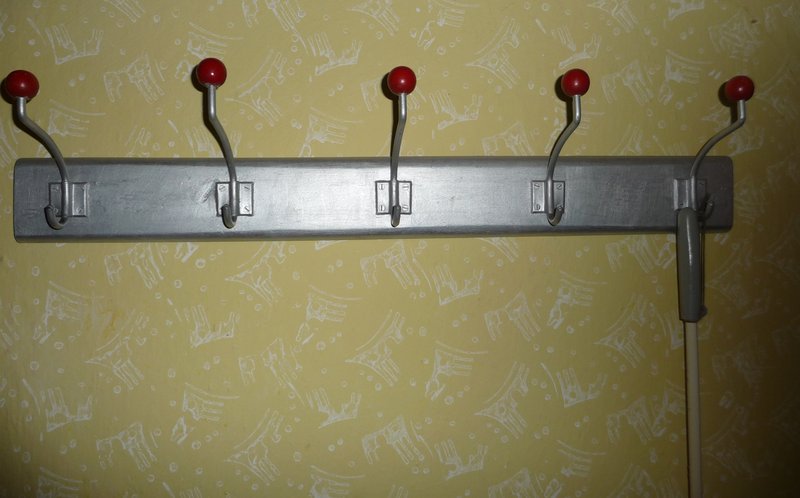
5. Screw a Row of Sturdy Hooks by the Door
This is the cheapest upgrade on the whole list, and it might be the most used. A row of five or six solid hooks by the front door catches coats, bags, hats, dog leashes, and keys before they migrate to chairs, counters, and the floor. In a tiny house, the entryway is usually just a patch of floor by the door, so vertical hooks create the mudroom you do not have room to build.
Spend the extra two dollars per hook for metal ones rated for real weight, and drive the screws into a stud or use proper wall anchors. Cheap adhesive hooks will eventually dump your winter coat on the floor at midnight; ask anyone who has tried. Mount a narrow shelf above the hooks for sunglasses and mail, and put a small tray or basket underneath for shoes. Renters can do the whole thing with no-drill adhesive strips rated for the weight, and these rental-friendly tiny living ideas have more tricks that leave walls untouched. Give every person in the house their own hook, or at least their own zone, because shared hooks turn into a tangled pile within a week.
6. Let a Trunk Do Double Duty as Your Coffee Table
A tiny living room rarely has room for both a coffee table and a separate storage chest, so combine them. A trunk, blanket chest, or vintage suitcase stack in front of the sofa holds board games, throw blankets, photo albums, or off-season decor, and the flat top works perfectly for coffee mugs and feet. It is one of the oldest small-space tricks there is, and it still works because it solves two problems with one footprint.
Check the height before you commit: coffee table height is roughly 16 to 18 inches, and a trunk that is too tall makes an awkward table. If you find a beautiful trunk that is too low, add short furniture feet or casters, which also make it easier to pull out and open. Line the inside with cedar panels or lavender sachets if you are storing textiles, since old trunks can smell musty. Hinge the lid so it stays open on its own, or it will slam on your fingers while you are digging for the good blanket. A flat-weave runner on top protects the finish from mug rings and makes the whole thing look styled instead of improvised.
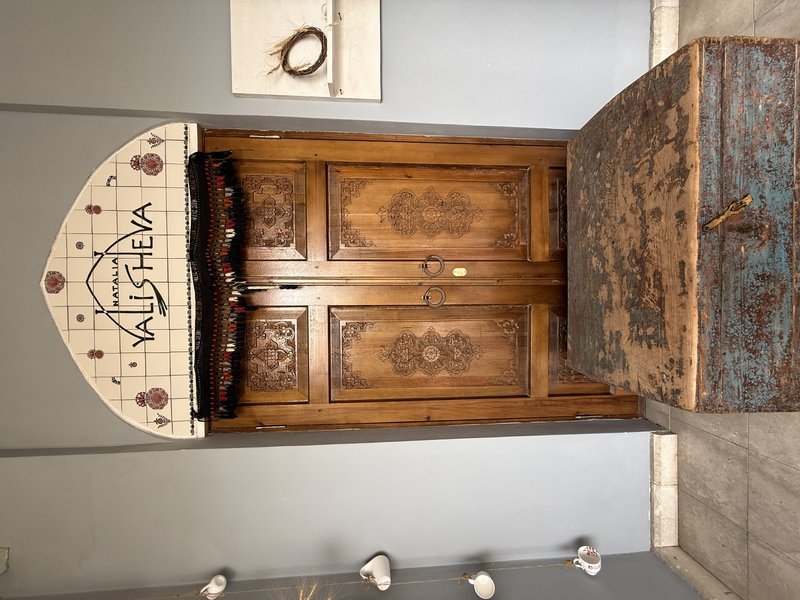
7. Build Storage Into the Window Seat
The stretch of wall under a window usually collects nothing but dust and a radiator, yet it is prime storage territory. A window seat with a hinged top or front-facing drawers turns that dead zone into seating plus a deep compartment for things you need rarely but cannot ditch: holiday decorations, luggage, or the tent you swear you will use again. As a bonus, it gives you the coziest reading spot in the house for free.
Build the seat 18 to 20 inches high so it works as real seating, and at least 16 inches deep so the storage inside is actually useful. If the window gets direct sun, choose fade-resistant fabric for the cushion and avoid storing anything heat-sensitive inside, like candles or vinyl records. Ventilate the compartment slightly if your climate runs humid, because sealed boxes against an exterior wall can grow mildew. For a simpler version, buy a ready-made storage bench and push it under the window, then add a custom cushion on top. It will not look built-in, but it will hold just as much and cost a fraction of the price.

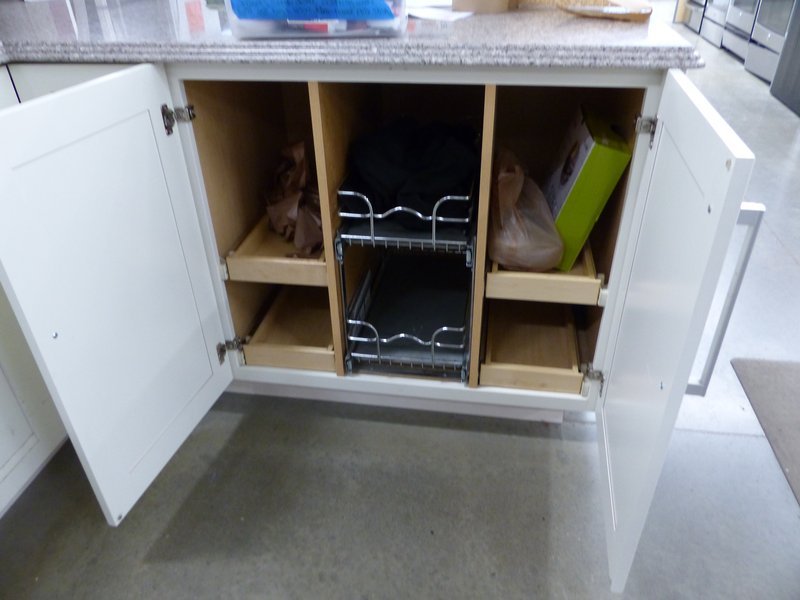
8. Retrofit Deep Cabinets With Pull-Out Drawers
Deep lower cabinets are where kitchen tools go to disappear. You know the drill: the blender you need is behind the bread maker, which is behind a stack of pans you forgot you owned. Pull-out drawers and sliding shelves fix this by bringing the entire contents of the cabinet out to you, so nothing hides in the dark back corners anymore. A 24-inch-deep cabinet effectively becomes twice as useful because you can actually reach all 24 inches.
Retrofit kits come in standard widths and install with a few screws, no cabinet replacement needed. Measure the interior width carefully and subtract a quarter inch for clearance, because a drawer that binds is worse than no drawer at all. Put heavy items like pots and small appliances on the bottom pull-out where the weight sits low, and reserve upper slide-outs for lighter things like spices and wraps. One caution: check that the pull-out clears the cabinet door hinges and any plumbing before you buy. A drawer that smacks into the P-trap under the sink helps nobody. For layout inspiration beyond the cabinets themselves, these tiny house kitchen ideas show how small kitchens stay workable.
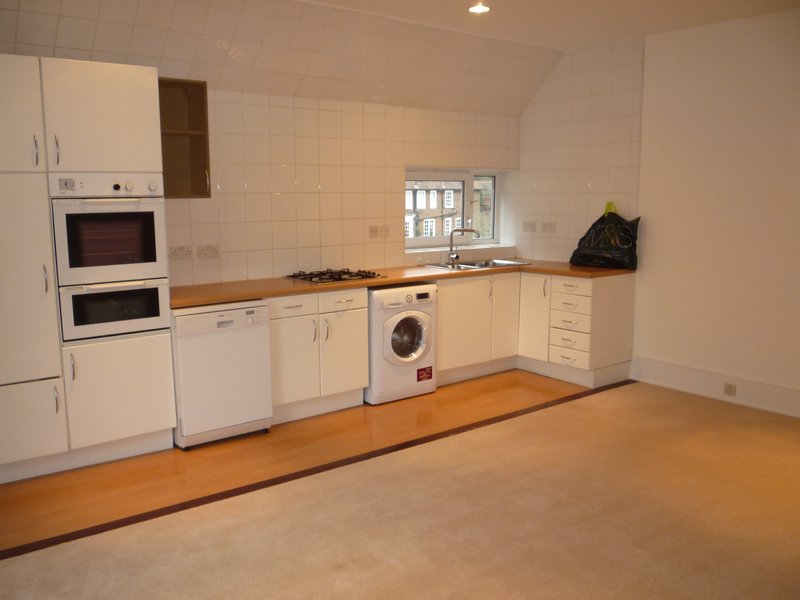
9. Zone Your Tiny Kitchen Like a Galley
A small kitchen works fine once every zone has a job and every tool lives in its zone. Think of it as stations: prep near the cutting boards and knives, cooking near the stove with oils and spices, and cleanup near the sink with dish soap and drying racks. When zones are clear, you stop trekking across the kitchen for every little thing, and you stop piling tools where they do not belong because everything has an obvious home.
Start by emptying one zone at a time and only putting back what is actually used there. The potato peeler does not need to live three steps from the cutting board. Use drawer dividers so utensils stay sorted, and put the most-used items between knee and shoulder height, which is the comfort zone you reach without bending or stretching. Store rarely used appliances, like the waffle iron, up high or in another room entirely. Here is the hard truth about tiny kitchens: counter space is your scarcest resource, so anything that can live on a wall, inside a cabinet, or hung from a hook should not be sitting on the counter. Clear counters make even the smallest kitchen feel calm and twice as big.
10. Move the Spices Off the Counter and Onto the Wall
Spice jars are the classic counter squatters. Individually they are tiny, but a collection of twenty turns into a cluttered skyline that eats a full square foot of prep space. A wall-mounted spice rack, a magnetic strip, or even small shelves inside a cabinet door moves the whole collection vertical and hands your counter back to actual cooking.
Decant spices into uniform small jars so they stack neatly and you can read every label at a glance. Mount the rack near the stove but not directly over it, because heat and steam fade spices faster. If you are short on wall space, the inside of a pantry door or the side of a cabinet holds a surprising number of jars on slim racks. Label the lids as well as the sides, since you will often be looking down at them from above. And be honest during the move: if a jar has been sitting unopened for two years, it was never going to be used. Tiny kitchens have no room for aspirational saffron. Keep the fifteen you reach for and let the rest go.

11. Swap a Few Upper Cabinets for Open Shelving
Upper cabinets can make a tiny kitchen feel like a tunnel, and they hide clutter behind doors while hogging visual space. Replacing one run of uppers with open shelves instantly makes the room feel wider and brighter, and it forces a useful discipline: only the pretty, everyday dishes earn a spot on display. Everything else has to justify its space somewhere less visible.
This works best for items you use daily, because regular handling keeps dust from settling. Plates, bowls, glasses, and mugs are perfect candidates. Keep shelves to two or three rows so nothing sits so high you need a step stool every morning, and use shelf brackets rated for real dish weight, not decorative brackets. Style the shelves loosely by grouping similar items rather than arranging a showroom; a kitchen should look lived in. If open shelves feel too exposed, try a hybrid: open shelving on one wall, closed cabinets on the other. You get the airy feeling without committing every dish in the house to public viewing.
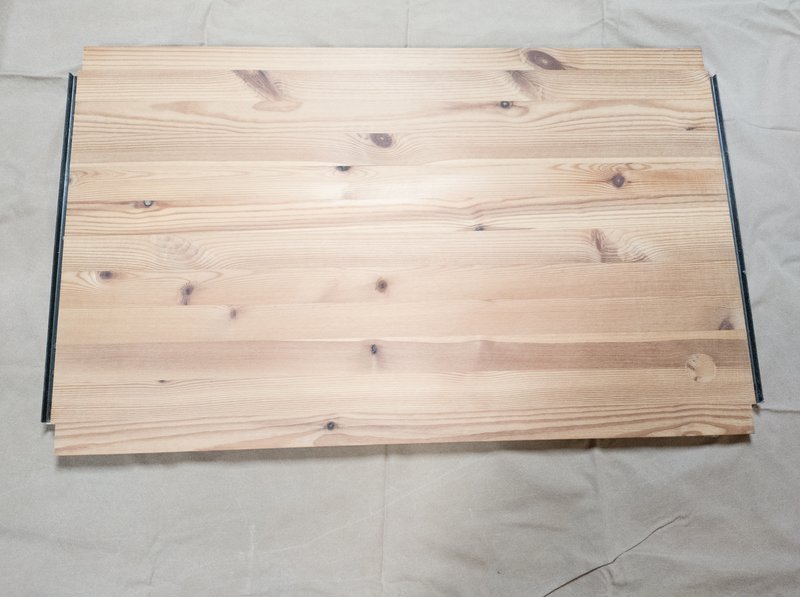
12. Split Rooms With a Double-Sided Bookshelf
Putting up a wall to divide a studio or open-plan tiny house costs you floor space on both sides and blocks light. A double-sided bookshelf does the same job while adding storage: books and decor face the living area, while the bedroom side holds clothes, baskets, or a small lamp. You get separation plus roughly eight square feet of shelving in the footprint of a single piece of furniture.
Choose a unit with a finished back or no back at all so both sides look intentional, and anchor it to the wall or floor so it cannot tip. Keep the top third light and airy with plants or a few books, because a solid wall of stuff overhead makes both sides feel cramped. Leave a gap at one end for walking around rather than sealing the divider wall to wall; tiny houses need circulation more than they need perfect separation. For more tricks in this spirit, these small space living hacks cover furniture that divides without dividing. One warning: a bookshelf divider only works if both sides stay tidy, so be realistic about your habits before you commit the bedroom side to open storage.

13. Store Shoes Vertically Instead of in a Pile
Shoes have a way of breeding in the dark corners of small homes. Left on the floor, six pairs sprawl across three square feet of entryway and trip everyone who walks in. Stored vertically on a slim rack, those same six pairs take up about one square foot of floor and stay visible, which means you actually wear them instead of rebuying what you forgot you owned.
A narrow multi-tier rack fits in closets, behind doors, or in that awkward gap beside the dresser. Tilted shelves let you see each pair at a glance and keep tall boots from flopping over. If floor space is truly zero, an over-the-door pocket organizer holds flats and sandals, though it will not do justice to boots. Do a seasonal rotation like you do with clothes: the current season lives on the rack, everything else goes in a labeled bin under the bed or in the trunk from hack number six. And set a household limit. In a tiny house, a one-in-one-out shoe rule is not minimalism posturing, it is basic geometry.
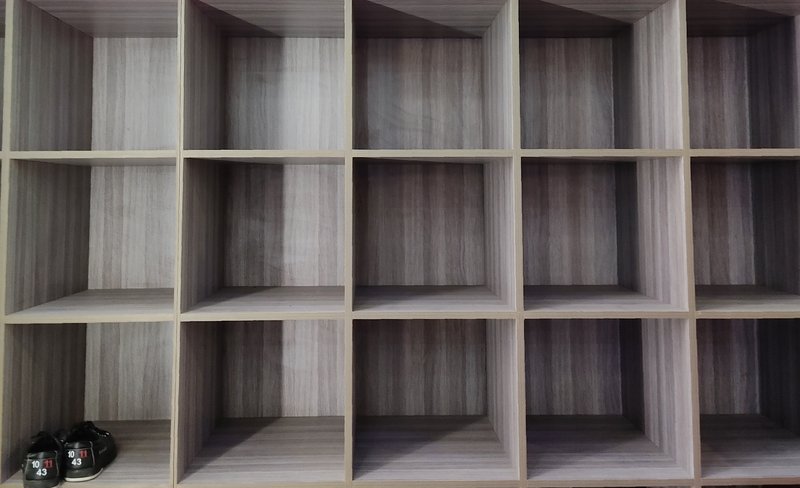
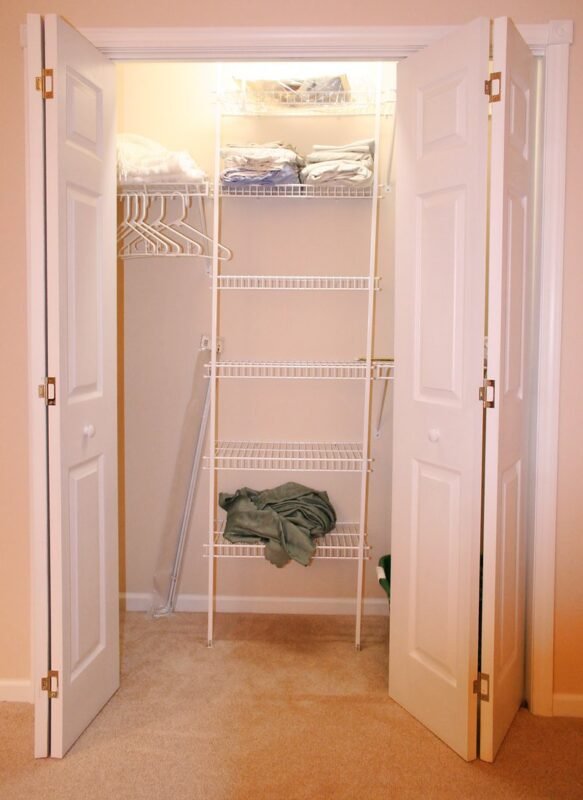
14. Run One Wardrobe Wall From Floor to Ceiling
One tall, full-height wardrobe beats three short dressers scattered around the room. Dressers waste the two feet of air above them, break the room into visual clutter, and each one needs clearance to open its drawers. A single floor-to-ceiling wardrobe wall consolidates everything into one footprint, uses every vertical inch, and reads as architecture instead of furniture.
Plan the interior before you buy or build: double-hang the top two-thirds for shirts and folded pants, leave one full-length section for dresses and coats, and put drawers or pull-out baskets at the bottom for underwear and accessories. Add motion-sensor LED strips inside, because a deep wardrobe without light is just an expensive cave. If you are building it yourself, Family Handyman’s roundup of built-in storage ideas for small spaces has solid floor-to-ceiling inspiration worth studying first. Ventilate the unit slightly in humid climates, and leave a finger-width gap from the ceiling for air movement and easy installation. One big wardrobe also simplifies cleaning: one top to dust instead of three.
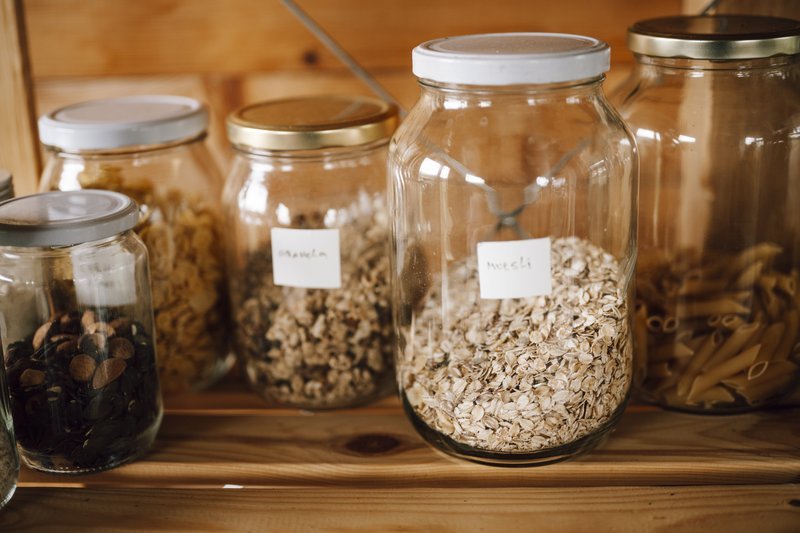
15. Decant Dry Goods Into Matching Clear Jars
Half-empty boxes and crinkly bags waste an embarrassing amount of shelf space, and you can never tell at a glance what is actually inside them. Decanting flour, rice, pasta, oats, and snacks into matching clear jars packs the same food into less space, because jars are uniform and stackable while boxes are all odd sizes. As a bonus, the pantry instantly looks calmer, which matters when your pantry is two shelves everyone can see.
Buy jars in two or three sizes rather than a dozen, so lids stay interchangeable and stacking stays simple. Wide-mouth jars are worth it for anything you scoop. Label every jar with the contents and the date you filled it; masking tape and a marker work fine, and chalkboard labels look nicer if you care. Keep the original cooking instructions until you know the recipe by heart, or snap a photo of the box before recycling it. A practical warning: do not decant anything you will not finish within a few months unless the jar seals truly airtight. Stale crackers in a pretty jar are still stale crackers.
16. Steal Storage Inches in the Bathroom
Bathrooms in tiny houses are often the size of a closet, and they still have to hold towels, toiletries, cleaning supplies, and medicine. The fix is to go vertical and exploit the inches everyone ignores: the wall above the toilet, the back of the door, the narrow gap beside the vanity, and the inside of cabinet doors. A bathroom that uses its walls can hold twice as much as one that only uses its floor and counter.
Start with a shelf or small cabinet over the toilet for spare towels and toilet paper. Add adhesive or screw-mounted hooks on the back of the door for robes and the hairdryer. Use stackable bins under the sink to sort cleaning supplies, and mount a magnetic strip inside the medicine cabinet door for tweezers, nail clippers, and bobby pins. Keep daily items at arm’s reach and relegate the backup shampoo bottles to a bin elsewhere. In a wet room with no ventilation, choose rust-proof materials like stainless steel or sealed bamboo, and wipe shelves down monthly. Moisture is the enemy of every storage system, so ventilation matters as much as the shelves themselves.

17. Buy Guest Chairs That Fold Flat
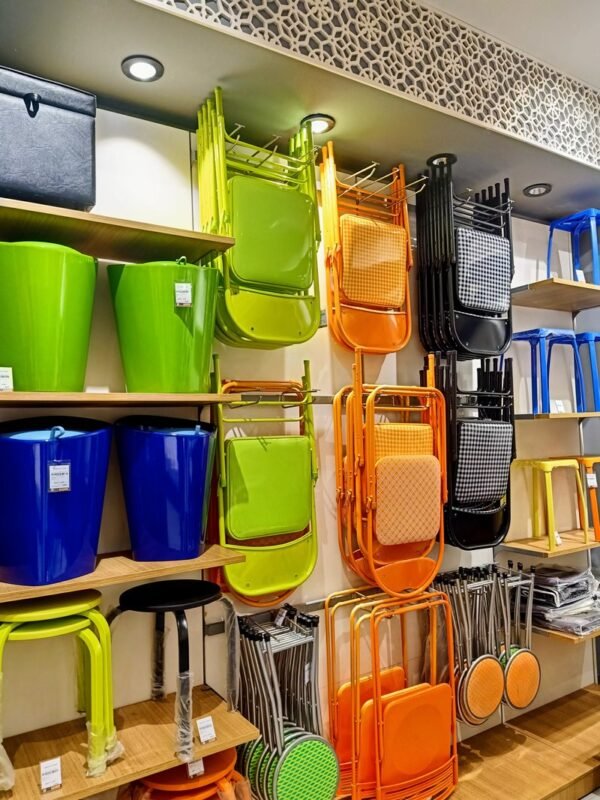
Extra seating is the eternal tiny-house dilemma: you need chairs for four when friends visit, but chairs for four will not fit your daily life. Folding chairs solve it by disappearing when the party is over. Good ones fold to a couple of inches thick and hang on wall hooks, slide behind a door, or tuck under a bed, taking up essentially zero floor space eleven months of the year.
Avoid the wobbly metal relics from church basements and buy modern folding chairs with solid hinges and a weight rating you trust. Wooden folding chairs look like real furniture when they are out, which matters when your dining area is also your living room. Store them somewhere you can grab without moving five other things, or you will stop bothering and guests will sit on the floor. A set of four flat-folding chairs plus a drop-leaf table means a 200-square-foot home can host a real dinner party. That is the kind of flexibility that makes tiny living feel generous instead of cramped, and it costs less than one bulky armchair.
18. Make Every Piece of Furniture Earn Its Floor Space
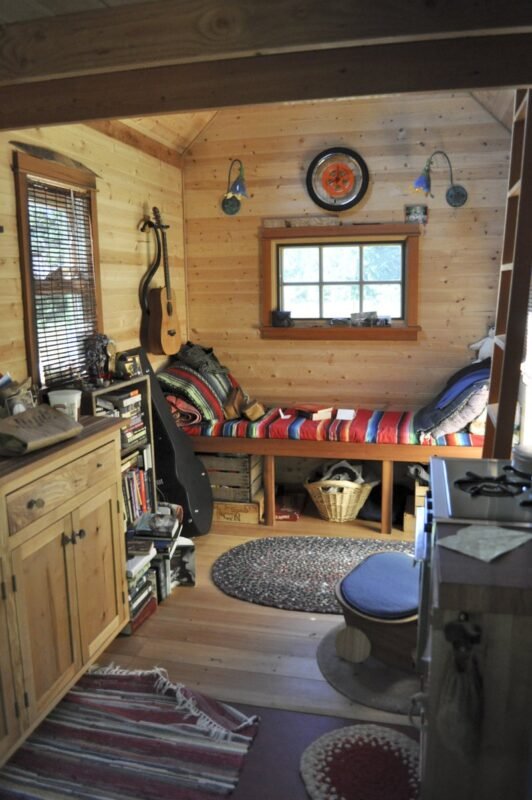
Here is the rule that ties all the other hacks together: in a tiny house, no piece of furniture gets to do only one job. The bed stores clothes underneath. The bench hides blankets. The trunk is the coffee table. The stairs are drawers. When you shop with this rule, every purchase adds storage instead of consuming space, and the house slowly upgrades itself with each new piece.
Before buying anything, ask what it stores, what it converts into, or what it replaces. A side table with a shelf beats a side table without one. An ottoman with a lid beats a pouf. If a piece does exactly one thing and that thing is “look nice,” it has to be truly special to earn its footprint. This mindset also protects your budget: start with the affordable tiny house essentials and add dual-purpose pieces one at a time as you learn how you actually live in the space. The most common tiny-house regret is buying too much furniture too fast, then spending a year working around it. Buy slow, buy double-duty, and let the house tell you what it still needs.
19. Standardize on One Stackable Bin
A closet full of random boxes is barely better than a closet full of clutter. Every box is a different size, lids never match, and stacking them is a game of Jenga you lose every time. Pick one stackable bin in one or two sizes and buy a dozen. Uniform bins stack safely to the ceiling, slide in and out without catching, and make the whole closet look intentional even when the contents are chaos.
Clear bins let you see contents without opening them, which saves endless rummaging. Opaque bins look tidier on open shelves. Either way, label the short end that faces out, because you will always approach the stack from the same side. Use the smaller size for heavy things like tools and books, since a big bin full of books is a back injury waiting to happen. Keep one empty bin in the rotation as a buffer: when you buy something new, it goes in the buffer bin first, and when the buffer is full, something old has to leave. That single habit does more for long-term order than any organizing product ever will.

20. Look Up and Use the Ceiling
When the walls are full and the floor is spoken for, the ceiling is still empty. Hanging storage frees surfaces below while keeping things visible and reachable: plants in hanging planters, pots from a ceiling rack over the kitchen counter, bikes on a pulley hoist in the entryway, or baskets hung from hooks for fruit and everyday bits. It is the last frontier of tiny-house storage, and most people never touch it.
Use proper ceiling anchors rated for the weight, screwed into joists wherever possible. A falling cast-iron pan is not a storage hack, it is a hazard. Keep hanging items high enough to walk under comfortably but low enough to reach without a stool for daily-use things. In the kitchen, a ceiling pot rack over an island or peninsula puts cookware exactly where you cook and frees an entire cabinet. In living areas, hanging plants add life without stealing a single inch of surface. Just check your lease or build rules before drilling into the ceiling, since some rentals and tiny-house communities have opinions about overhead modifications.

Final Thoughts
Doubling your storage is not about buying more organizers, it is about seeing the space you already have. The average tiny house hides dozens of cubic feet in plain sight: under the bed, above the door, inside the furniture, and along the walls. Start with the biggest wins, the bed zone and the walls, then work down the list one weekend at a time. You do not need to do all twenty hacks to feel the difference; even three or four will change how the house lives. And remember the golden rule of small spaces: everything you own should have a home, and every home should earn its square footage.