
There is a particular kind of joy in rescuing a piece of furniture that everyone else walked past. Thrift stores are full of solid wood dressers, sturdy chairs, and forgotten tables with good bones and terrible finishes. With some sanding, paint, and new hardware, those cast-offs turn into pieces that look like they came from a boutique. Here are twelve furniture flips you can actually do yourself, each one starting from a typical thrift store Furniture Flips find and ending with something you will be proud to show off.
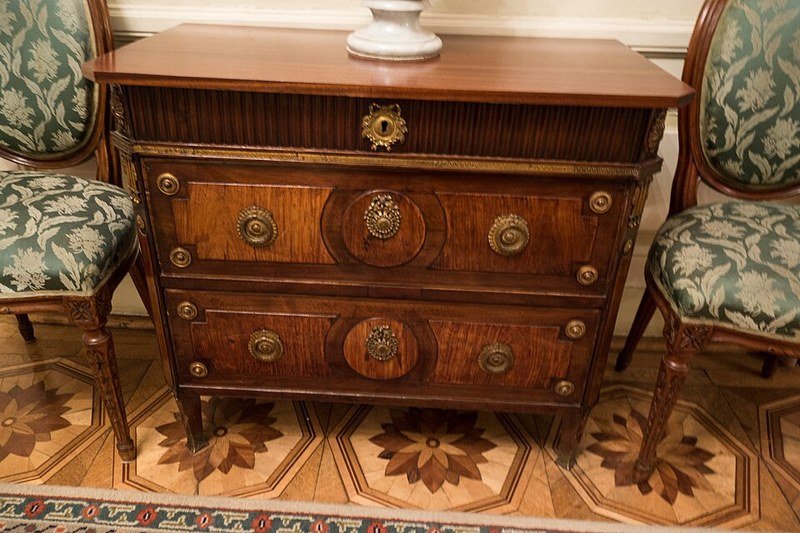
1. The Painted Dresser That Looked Brand New
That wobbly-looking dresser at the back of the thrift store is usually the best deal in the building. This one had a scratched top, dated brass handles with half the lacquer worn off, and drawers that stuck every time you pulled them. The wood underneath was solid, though, which is all that matters. Before you hand over your money, pull every drawer out and check that the frame is square and nothing is warped. A warped carcass is the one thing paint cannot fix, so walk away from that and keep hunting.
The flip started with a good scrub using a degreasing cleaner, then a sanding pass with 120-grit followed by 220-grit to smooth everything out. A coat of bonding primer went on next, because old varnish loves to reject new paint, and then two coats of satin enamel in a deep sage green. The old handles were replaced with simple brass bar pulls, and the drawer bottoms got lined with peel-and-stick wallpaper for a surprise every time they open. Fixing the sticky drawers took ten minutes with a little paste wax rubbed along the runners.
The after is honestly hard to believe. It reads as a custom piece now, the kind of dresser that anchors a whole bedroom. Dressers are some of the most budget-friendly furniture finds you will come across secondhand, and this one cost less than a single new nightstand.
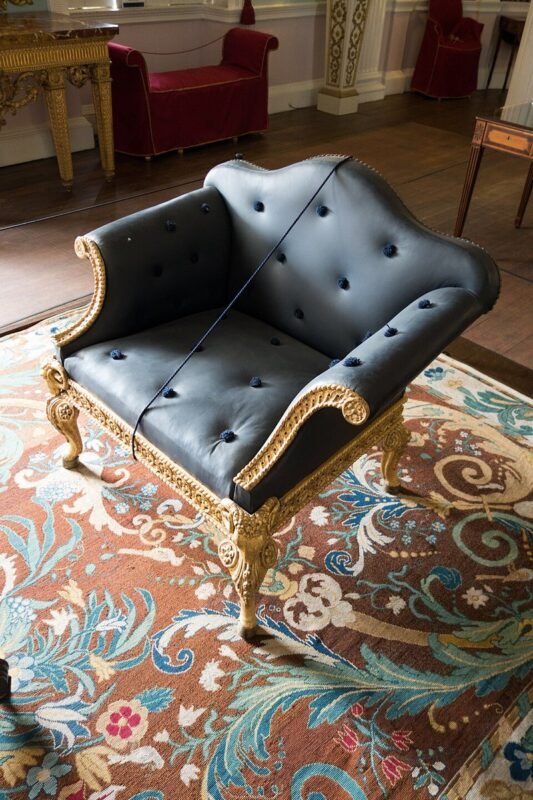
2. The Armchair Nobody Wanted Until the Reupholstery
Some chairs are worth saving for their shape alone. This little armchair had it: curved back, nicely turned legs, perfect proportions for a reading corner. What it did not have was dignity. The floral upholstery was sun-faded to a ghost of itself, the seat foam had compressed into something resembling a pancake, and one arm wobbled. It sat in the corner of the shop for weeks at fifteen dollars while people walked by.
Reupholstering sounds intimidating, but a simple chair like this is genuinely beginner-friendly. The old fabric came off with a staple remover and was kept intact to use as a pattern for cutting the new pieces. The seat got two inches of fresh high-density foam, and the whole chair was recovered in a sturdy oatmeal-colored performance fabric that shrugs off coffee spills. The wooden legs got a quick sanding and a coat of dark walnut stain to match the new palette. A staple gun, a hot glue gun for the trim, and one free Saturday did the rest.
Now it sits by a window with a throw pillow and a stack of books, and guests always ask where it came from. Nobody guesses a thrift store. If the frame of a chair is solid and the shape makes you happy, the fabric is just a costume change away from beautiful.
3. The Coffee Table With a Brand-New Top
Coffee tables take more abuse than almost any other piece of furniture. Feet go up, mugs go down without coasters, keys get tossed, and after a decade the top tells the whole story in rings and scratches. This oak coffee table had all of that plus a dull, cloudy finish that made the wood look tired. Structurally it was a tank, though, which made it a perfect candidate for a refinish rather than a paint job.
Here is the practical tip that saves the most time: you do not always have to strip furniture down to bare wood. After a thorough cleaning and a scuff-sand with 220-grit paper, a coat of gel stain went straight over the existing finish. Gel stain is thick enough to sit on top of old varnish and even out the color, and it hides a multitude of sins. Two thin coats deepened the oak to a rich walnut tone, and then three coats of wipe-on polyurethane sealed everything with a smooth, satin sheen. If you want the full walkthrough, this guide on how to refinish furniture without stripping it covers the technique in detail.
The table looks like it belongs in a furniture catalog now. Total cost was under thirty dollars, most of it the polyurethane, and the whole project took a weekend of drying time between coats.
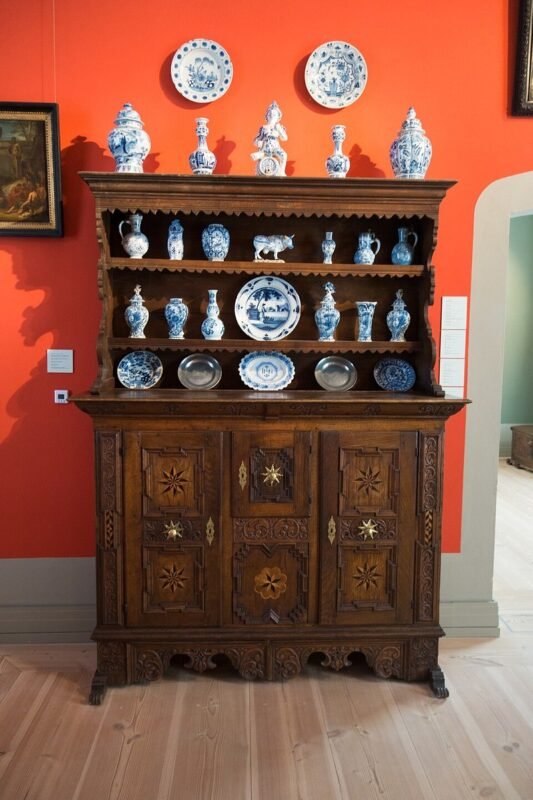
4. The Hutch That Became the Star of the Room
Hutches are the introverts of the furniture world. Big, useful, and completely overlooked at thrift stores because of their dark, dated finishes. This one was a classic nineties piece: orangey varnish, fussy hardware, and glass doors that rattled. It had been marked down twice, which told me everything I needed to know about how badly it wanted a new home.
The transformation leaned into contrast. The outside got two coats of warm white paint after priming, while the interior back panel was painted a deep forest green so dishes and glassware would pop against it. Peel-and-stick wallpaper could do the same job if you prefer pattern. The rattling glass doors were fixed with small clear bumpers, the hardware was swapped for matte black cup pulls, and a battery-powered LED strip tucked under the top shelf made the whole thing glow in the evening. Suddenly the biggest, clunkiest piece in the room was the one everyone noticed first.
It now works as a coffee bar in a dining room, which is a lovely trick for adding storage where a kitchen has none. If you are short on kitchen space, there are plenty of clever tiny house kitchen storage ideas that use exactly this kind of repurposed furniture.
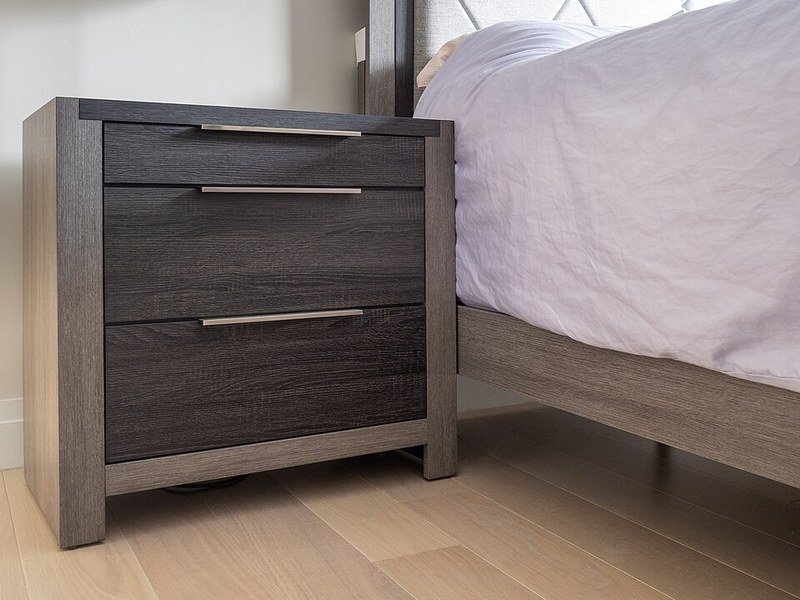
5. The Pair of Nightstands Hiding Under Ugly Stain
I almost walked past the nightstands. They were buried behind a stack of lampshades, and years of grime had turned the finish nearly black. But they were a matching pair with dovetailed drawers, and matching pairs at thrift stores are like finding money on the sidewalk. I bought both without even checking the price tag properly. Ten dollars each.
The flip was straightforward but satisfying. A degreasing wash revealed actual wood grain under the grime, which felt like unwrapping a present. After a light sanding, two coats of soft white chalk paint went on, followed by clear wax buffed to a low sheen. The mismatched plastic knobs were replaced with a matching set of ceramic ones in a dusty blue, and the drawers were lined with leftover wrapping paper sealed with a thin coat of Mod Podge. Here is the tip worth remembering: always buy the pair when you see one, even if you only need a single nightstand. The second one becomes a side table, a plant stand, or a gift.
They now flank a bed and look like they were bought as a set from a proper furniture store. Small flips like this are perfect rental-friendly decorating ideas because nothing about the process touches the walls or the floors.
6. The Plain Wooden Bench, Sanded Into Something Beautiful
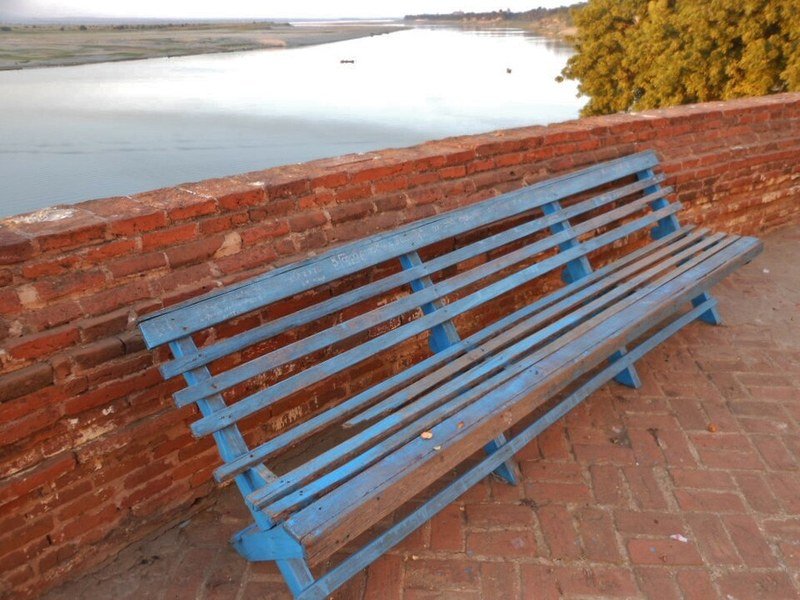
Benches are one of the easiest flips there is, which makes them perfect if you are just starting out. This one was as plain as furniture gets: a simple pine bench, rough to the touch, with a few dents and a wobbly leg joint. It had clearly lived a hard life in someone’s mudroom. Nothing about it was precious, which meant there was nothing to be afraid of ruining.
Before doing anything cosmetic, the joints got attention. The loose leg was pulled apart, old glue scraped out, fresh wood glue applied, and the whole thing clamped overnight. That is the step beginners skip, and it is the difference between a flip that lasts and one that wobbles apart in six months. Then came sanding through the grits, 80 to 120 to 220, until the pine felt like silk. A coat of wood conditioner kept the stain from going blotchy, which pine loves to do, followed by a warm walnut stain and three coats of polyurethane for a hardworking top.
It now sits in an entryway holding shoes underneath and a cushion on top. A fair warning for bench hunters: always check the underside for tiny holes that could mean woodworm, and sniff for mustiness. Solid and dry is what you want.
7. The Writing Desk That Finally Got a Job Again
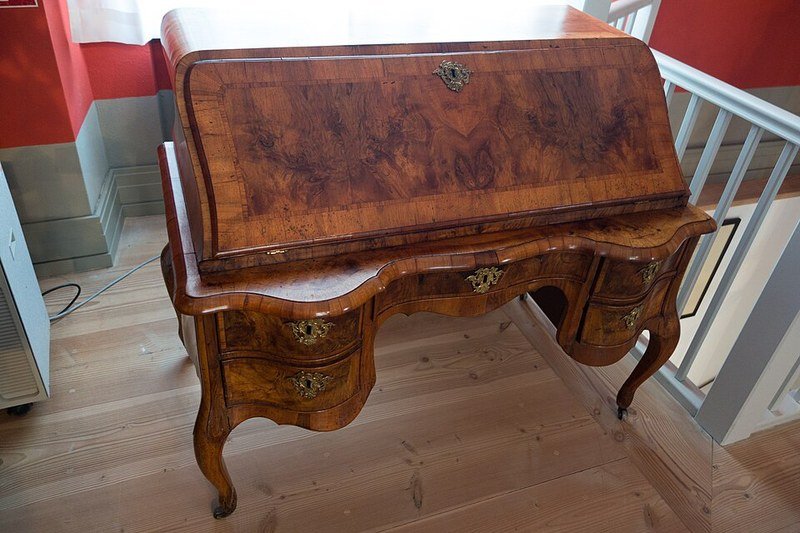
Desks are always in demand at thrift stores, and the good ones go fast. This writing desk had been passed over because of a badly scratched top and one leg that needed regluing, but the size was exactly right for a small home office corner and the drawer configuration was genuinely useful. Twenty-five dollars and a bit of courage brought it home.
The two-tone treatment is what made this flip sing. The top was sanded all the way to bare wood, which took some patience with 80-grit, then stained a medium oak and sealed with polyurethane so laptops and coffee mugs would not hurt it. The base and legs got painted a deep slate blue, which made the warm wood top stand out beautifully. New brass knobs replaced the plastic originals, and a small cord grommet drilled in the back corner keeps charger cables tidy. The reglued leg is now the sturdiest joint on the whole desk.
It anchors a work-from-home setup that cost less than a hundred dollars all in. A desk like this is one of the smartest DIY furniture ideas for small spaces because it gives you a real workspace without eating the whole room.
8. The Old Chest That Turned Into Blanket Storage
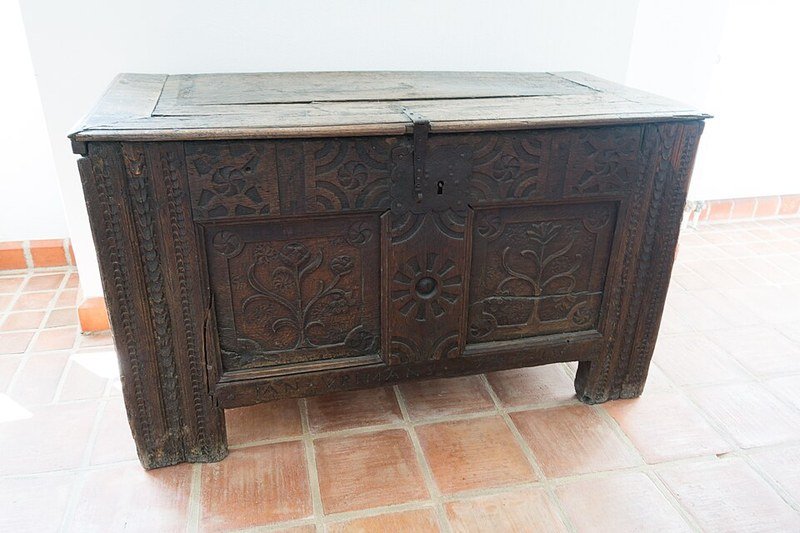
Old wooden chests show up at thrift stores constantly, usually priced to move because nobody knows what to do with them. This carved one was musty, scratched, and missing its lock hardware, but the carving was genuinely beautiful and the lid still fit well. It smelled like someone’s attic, which is fixable, and the wood was thick and solid, which is what counts.
The practical details matter more than the cosmetics on a chest flip. First the mustiness: a full day airing out in the sun, then a wipe-down and an open box of baking soda left inside for a week. Then the outside got sanded and finished with a dark stain that made the carving pop, while the inside was painted with a sealing primer to lock in any lingering odor. The most important addition was a pair of soft-close lid supports. An old chest lid is heavy enough to hurt, and the supports keep it from slamming on fingers. A cedar liner on the bottom keeps stored blankets smelling fresh.
It now sits at the foot of a bed holding spare quilts, and it gets more compliments than furniture ten times its price. In a small bedroom, a storage chest like this is one of the cleverest small-space storage hacks because it is seating, storage, and decor in one footprint.
9. The Vintage Headboard Worth Saving
A good headboard changes the whole feeling of a bedroom, and it is one of the cheapest big-impact flips you can do. This carved wooden headboard was buried behind mattresses at the shop, its finish chipped and dull, but the carving had real character and the wood was thick enough to survive another fifty years. Twelve dollars. I carried it out like I had won something.
One serious warning before you start: if a painted piece might predate 1978, test for lead paint before you sand or strip anything. Test kits are cheap and available at any hardware store. This headboard tested clear, so the old finish came off with sanding and the wood got a coat of deep green paint that made the carving shadows look dramatic. A light hand with sandpaper on the raised edges gave it a softly aged look, and clear wax sealed the whole thing. Hung on the wall with a French cleat instead of attached to a bed frame, it works with any bed.
It is now the undisputed focal point of the room. Everything else in the bedroom got simpler to let the headboard do the talking, which is exactly what a statement piece is for.
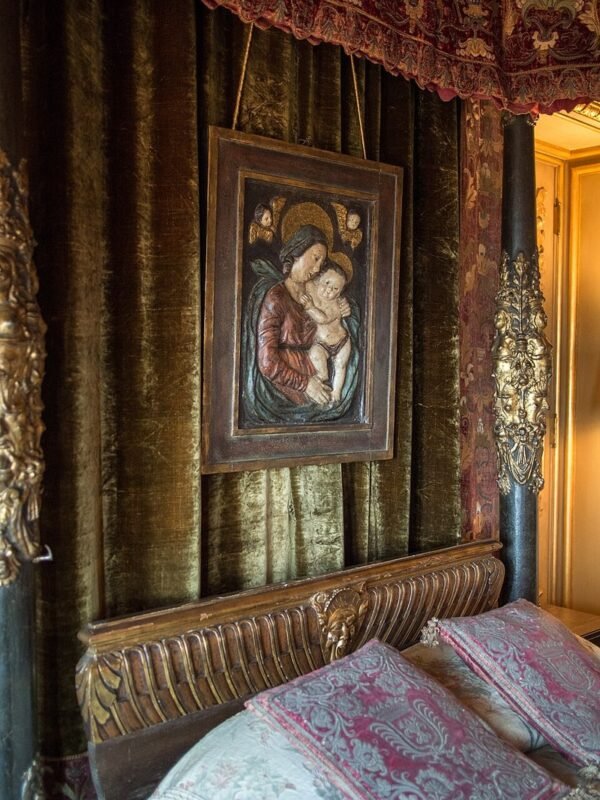
10. The Mismatched Dining Chairs That Became a Set
You will find single dining chairs at every thrift store, every single week. Most people ignore them because one chair is not useful, but that is exactly the opportunity. Over about a month, four wooden chairs with similar silhouettes came home, each a different finish: honey oak, dark cherry, white paint, and bare wood. None of them matched, and that was the whole point.
Paint is the great unifier. After tightening every joint and replacing two missing screws, all four chairs got the same treatment: a thorough sanding, bonding primer, and two coats of satin black paint. The seats were the fun part. Each one got reupholstered in the same cheerful ticking stripe fabric, which tied the set together even where the chair shapes differed slightly. Leveling the legs took a few adhesive felt pads on the two that rocked. The concrete example to take away: you do not need to find four identical chairs on the same day. Collect patiently, and let the finish do the matching for you.
The set now looks intentionally eclectic, the way collected-over-time dining sets look in design magazines. Total spend was under sixty dollars for four solid wood chairs, which would not buy you one new chair of similar quality.
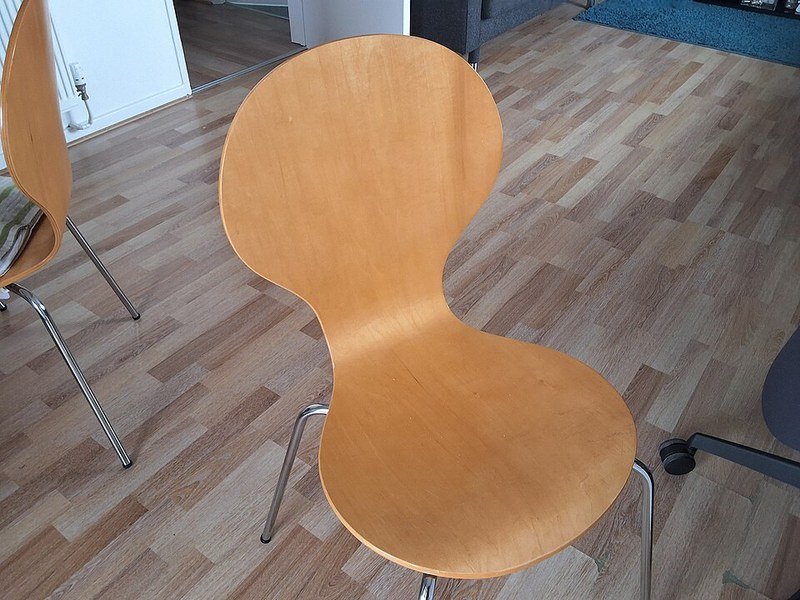
11. The Little End Table With Big Personality
Small tables are the best place to experiment because the stakes are so low. This end table cost eight dollars, had water rings on the top, and wobbled slightly. If the whole project had been a disaster, the loss would have been one pizza’s worth of money. That freedom is exactly why it turned out so well.
After fixing the wobble with a little glue and a clamp, the whole table got sanded smooth and painted a bold terracotta that would have felt risky on anything bigger. The top got a simple stenciled border in cream paint, sealed under two coats of water-based polyurethane so drinks would not ruin it. A single oversized ceramic knob replaced the tiny wooden one, which changed the proportions in a surprisingly grown-up way. Here is the tip: the color you are scared to paint a dresser is the color you should try on an eight-dollar side table. Small pieces are where you learn what you actually love.
It now sits next to an armchair holding a lamp and a stack of books, and the terracotta color pulls the whole corner together. Every room needs one small piece with personality, and thrift stores are full of candidates.
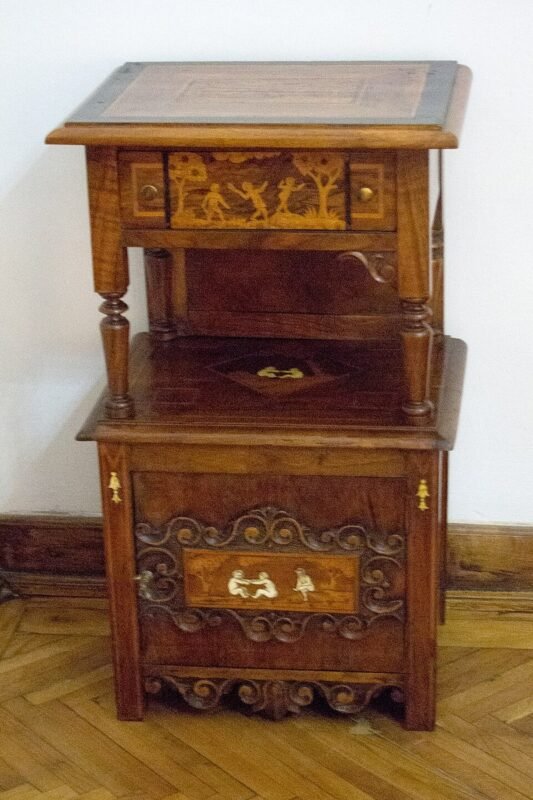
12. The Tired Bookshelf That Got a Second Act
Bookcases are workhorses, and a fresh finish makes them look like they cost ten times more. This one was peak nineties oak: shiny, orange-toned, and completely invisible in the way only dated furniture can be. It was also deep, sturdy, and the exact width needed for an empty wall in a living room. Forty dollars for solid wood shelving that size is a steal.
The flip took it from invisible to intentional. After cleaning and a scuff-sand, the whole bookcase got two coats of deep green paint with a satin finish. The back panel was the secret weapon: removable hardboard covered in a botanical peel-and-stick wallpaper, so the shelves now have a patterned backdrop that makes books and objects stand out. Adjustable shelf pins were replaced where missing, and the top got styled with a trailing plant and a small stack of art books. Two of these flanking a fireplace or a TV would read as built-ins for a fraction of the cost.
It now holds a small library and looks like custom millwork. A painted bookcase used as a pantry or linen storage works just as well, which makes it one of the hardest-working flips on this list.

Final Thoughts
Every piece on this list started as something somebody else did not want, and every one of them ended up as something worth keeping. That is the whole magic of thrift store flipping. You do not need a workshop full of tools to begin. A sander, a decent brush, and the willingness to look past a bad finish will carry you through most of these projects.
Start with something small and sturdy, check the bones before you buy, and let the first flip teach you what the second one should be. The next time you walk past the furniture section at the thrift store, slow down. Your favorite piece of furniture might be sitting there right now, waiting for someone with a little imagination.